Showing posts with label orange. Show all posts

Saturday, January 3, 2015

jamdoodles

I thought I would pay homage to my first recipe post of 2014 (oh, those delicious Cranberry Orange Scones..), by making a homemade Cranberry-Orange Jam. I then proceeded to stuff it into cookies. And, let it be known, that is how Jamdoodles were born.


Jamdoodles
Adapted from Martha Stewart's Snickerdoodle recipe
Yields about 20-24 cookies

INGREDIENTS
2 3/4 cups all-purpose flour
2 tsp baking powder
1/2 tsp salt
1 cup (2 sticks) unsalted butter, room temperature
1 1/2 cups white granulated sugar
2 large eggs, room temperature
-----------
jam (see my Cranberry-Orange Jam recipe below, or any jam of your preference)
cinnamon sugar (2 Tbsp sugar + 2 tsp ground cinnamon)

DIRECTIONS

1. Preheat oven to 350 degrees F.
2. Whisk together all-purpose flour, baking powder, and salt in a medium bowl.
3. In the bowl of a stand mixer fitted with a paddle attachment, cream butter and sugar until pale and fluffy.
4. Add eggs, one at a time, to butter-sugar mixture at medium speed. Scrape down bowl and paddle with spatula and mix again until well combined.
5. Add dry ingredients to the bowl of the stand mixer. Mix on stir speed until it there is no more visible "dry". Use spatula to scrape down bowl and paddle and finish mixing until dough looks cohesive.
6. Onto a parchment-lined baking sheet, use a cookie scoop to dish out portions of dough-- I use a rounded 1" scoop. 
7. Make a deep well in each rounded portion of dough. Insert a dollop of jam. Then, carefully seal the dough back up so the jam is enclosed. Round it back out into a rough dough ball form. This takes some technique and practice. You will find a way that works for you.
8. Roll each ball of dough into the cinnamon sugar mixture. Place back onto the cookie sheet. Space each portion about 2 inches apart on the sheet.
9. Bake for 15 minutes. Allow to cool on the baking sheet for 3-5 minutes. Then the cookies can be transferred to a cooling rack to cool further. 
10. Eat right away or store in an airtight container. For optimal freshness, I would recommend eating within 3 days.


I may be partial to my homemade Cranberry-Orange Jam, but this cookie has the perfect combination of everything-- tart, sweet, spicy, chewy. It's a twist on the traditional snickerdoodle, which I absolutely love. It reminds me of a jelly doughnut in cookie form. Basically, you need these in your life.

Regretfully, I don't stuff my cookies often. However, when I do, they definitely don't disappoint. Remember these gems? And OMG, these.

______________________________________

Cranberry-Orange Jam

INGREDIENTS
1 lb (16 oz.) frozen cranberries
2 cups white granulated sugar
1 1/2 tsp fresh orange zest
2 tsp freshly-squeezed orange juice

DIRECTIONS
1. In a saucepan, combine cranberries and sugar. Heat on medium-high, stirring occasionally, until sugar is dissolved.
2. Transfer cranberry mixture to a high-speed blender (I used my Vitamix) and blend on high until berries are completely pulverized.
3. Return mixture to saucepan and place on medium heat. Add orange zest and juice.
4. Stir frequently until jam thickens-- it should coat the back of the spoon without sliding off.
5. Remove from heat, allow to cool to room temperature. If not using right away, transfer to a sanitized jar or airtight container once cooled. Can be stored in the refrigerator for several months.

Thursday, January 9, 2014

Cranberry Orange Buttermilk Scones

I'm backkkkk! This is my first post of the New Year (which, in retrospect, doesn't say much considering I've been off the grid since September). Naturally, I am accompanying this return with a recipe that is worthy of a same-day share.

Scones are perfect for winter. I will tell you why. The process requires cold ingredients-- specifically, cold butter that will result in that oh-so-dreamy flakiness. With "room temperature" scaled on the cooler side these days, you don't have work quite as quickly as needed during the warmer months. The chance of messing this up is thus very low. You're welcome.


Back in May, I adapted a savory Cheddar and Chive Buttermilk Scone recipe. But if you are craving something fruity, I now have something new for you: Cranberry Orange Buttermilk Scones. They are divine. Tart, citrus, buttery, flaky sweetness... nailed it.


Cranberry Orange Buttermilk Scones
Adapted from Tartine // Elizabeth M. Prueitt & Chad Robertson
Yields 12 scones 

INGREDIENTS
4 3/4 cups all-purpose flour
1 Tbsp baking powder
3/4 tsp baking soda
1/2 cup granulated sugar
1 1/4 tsp salt
1 cup + 1 Tbsp unsalted butter, very cold
1 1/2 cups buttermilk
1 1/2 cups whole cranberries, unsweetened (Sometimes, it's hard to find fresh cranberries. I used frozen and then thawed them ahead of time)
1 Tbsp orange zest
1 Tbsp + 1 tsp freshly squeezed orange juice

Orange Glaze

INGREDIENTS
1 3/4 cups powdered sugar
1/4 cup + 1 Tbsp freshly squeezed orange juice
1 tsp orange zest
extra zest for sprinkling (optional)

DIRECTIONS
1. Preheat oven to 400 degrees F.
2. In a large mixing bowl, sift together flour, baking powder, and baking soda. Then add sugar and salt and stir with wooden spoon.
3. Cut cold butter into 1/2-in cubes and scatter over dry ingredients. Use a pastry blender to cut butter into dry ingredients until it's a coarse mixture with visible pea-sized lumps of butter.
4. Add buttermilk, cranberries, orange juice, and orange zest all at once to the mixture. Stir gently with the wooden spoon. Continue gently mixing until dough comes together-- add small amount of buttermilk at a time if the dough is too dry. 
5. Turn dough onto work surface lightly dusted with flour. Shape into a rectangle about 18 inches long, 5 inches wide, and 1 1/2 inches thick. 
6. With a sharp knife, cut into 12 triangles and place onto a parchment-lined baking sheet.  
7. Brush the tops of the triangles with melted butter (you will need about 2-3 Tbsp).
8. Bake in preheated oven for 25-35 minutes until the tops are lightly browned. Remove from the oven and allow to cool before glazing.
9. Prepare the Orange Glaze: While the scones are baking, make the orange glaze. Whisk together powdered sugar, orange juice, and orange zest until even consistency. Then, set aside.
10. Once the scones have cooled down, generously drizzle the top surface of the scones with the orange glaze. *TIP: I like to transfer the prepared orange glaze into the bottom corner of a plastic ziplock bag. I just slightly snip off that corner of the bag when I am ready to drizzle!
11. Allow the glaze to set up and harden a bit or just eat right away. I don't judge! I couldn't wait to dive in either..


This is the treat you want to have on a lazy winter morning/afternoon/night when it's too chilly outside to care about leaving the premises. So, instead, you pop in a movie and devour a scone [or two] while sipping on hot tea. P.S. I just described my whole day. Oh yeah, also, it was awesome.

Wednesday, January 23, 2013

orange balsamic glazed brussels sprouts with bacon

I personally don't know why people dislike/hate/are revolted by brussels sprouts. I assume it's due to a bad experience. I never ate brussels sprout anything growing up, so for a long time I never knew how they tasted or what to do with them. Then, I had a life-changing brussels sprout moment at Motorino in New York a few years ago. Brussels sprout and pancetta pizza.. holy goodness. That pizza is so scrumptious that it hurts to be 3,000 miles away. I literally want to cuddle with that pizza. Okay, I'll keep it G-rated and stop now. It's not even possible to recreate the depth of flavor developed by brussels sprouts roasted in a brick oven. So if you are ever in the East Village, stop by Motorino and know that I am jealous. I don't really miss pizza much, but that pizza.. it doesn't make me feel even a smidge guilty for binging on gluten and cheese.

Okay moving on, back to brussels sprouts. I don't mind them just oven-roasted with EVOO, salt and pepper. But today, I was feeling adventurous and decided to add a twist.


Orange Balsamic Glazed Brussels Sprouts with Bacon

INGREDIENTS
1 lb. brussels sprouts
1 Tbsp extra-virgin olive oil
1/4 tsp salt
1/4 tsp pepper
1 Tbsp + 2 tsp balsamic vinegar
2 tsp honey
1 1/2 tsp fresh-squeezed orange juice
2 slices of cooked thick-cut bacon, crispy
orange zest for sprinkling (optional)

DIRECTIONS
1. Preheat oven to 400 degrees F.
2. Prepare brussels sprouts. For each brussels sprout, cut off and throw away the brown end. Then, cut each brussels sprout lengthwise into thirds. Don't worry about this being perfect. Place onto a rimmed baking sheet. 
3. Add the EVOO, salt and pepper to the brussels sprouts. Gently toss until the brussels sprouts are evenly dressed.
4. Bake in the preheated oven for 15 minutes. Then, stir the mixture around. Bake for an additional 10 minutes until they are tender and the leaves have browned.
5. Prepare the orange balsamic glaze. This can be done while your brussels sprouts are baking. In a frying pan on medium heat, add the balsamic vinegar, honey, and orange juice. Allow the mixture to cook for about 5 minutes until it looks like it is reduced to about half the amount. It does not look like much but it will be just enough for the shrunken brussels sprouts.
6. Add brussels sprouts to the glaze in the frying pan. Carefully stir together until brussels spouts are lightly coated. 
7. Turn off heat and pour into a separate bowl. Roughly chop or crumble the crispy bacon and use it to top the brussels sprouts. Add a sprinkle of orange zest if desired.
8. Serve, eat, enjoy!

I paired my brussels sprouts with a salmon fillet. I only added lemon pepper to the skin and cooked it in the same frying pan with some EVOO. I've been pan-frying my salmon lately instead of baking it in the oven, mostly because I've been dealing with skinned salmon. I find that by cooking it in the pan, I can get the skin really nice and crispy and it somehow also turns out perfectly moist every time. If I did have a skinless fillet, I would then prefer baking it in a foil packet with herbs, fresh lemon, onion slices, and cherry tomatoes. But that sounds like another recipe for another day..

Thursday, January 17, 2013

apple turnovers

Apples are definitely the best fruit ever.. especially in any baked form.

Whenever I have a craving to bake, I usually make a rustic apple pie and call it a day. It's relatively quick, easy, and it's pretty darn good. However that buttery, flaky crust requires a little bit of nonfat milk (shhh), and milk is not a staple in my Paleo fridge. And thus enter Plan B: apple turnovers.

I may have slipped some phyllo dough into my cart during my Trader Joe's trip yesterday with some fire-roasted red bell peppers and sausage. Clearly, my intention was to make something savory. Shocker.. I went with sweet instead.

Because of the layers of phyllo and butter created by the folding technique, these turnovers are incredibly flaky. Right when you bite into it, they are crisp yet also resemble a sense of lightness. Then, the crunch from the course sparkling sugar. YUM. When you hit the apple, orange zest, and cinnamon filling, something magical happens. If warmth was a flavor, I imagine this is how it would taste-- just the right amount of spice and sweetness. And let's face it, two fruits are always better than one. I don't even know what to say except.. SO GOOD.

Apple Turnovers
Adapted from Big Oven
Yields 18-20

INGREDIENTS
4 medium granny smith apples, peeled and diced (smaller dice is better)
2 tsp orange zest
1/4 c. light brown sugar
1/4 c. white granulated sugar
1 tsp vanilla extract
1/4 tsp kosher salt
1 Tbsp cornstarch
1 tsp cinnamon
1 lb package of phyllo dough (20 sheets) 
melted butter (lots of it!)
sparkling sugar

DIRECTIONS
1. In a medium saucepan on medium low to medium heat, add apples, orange zest, light brown sugar, white granulated sugar, vanilla, salt, cornstarch, and cinnamon. Cook until mixture thickens, stirring occasionally.
2. Remove saucepan from the heat and set off to the side to cool down.
3. Take phyllo dough out of the package, unroll the stack of sheets, then cover with damp dishtowel. The phyllo dough will dry out quickly, so keep covered with the damp dishtowel when not using.
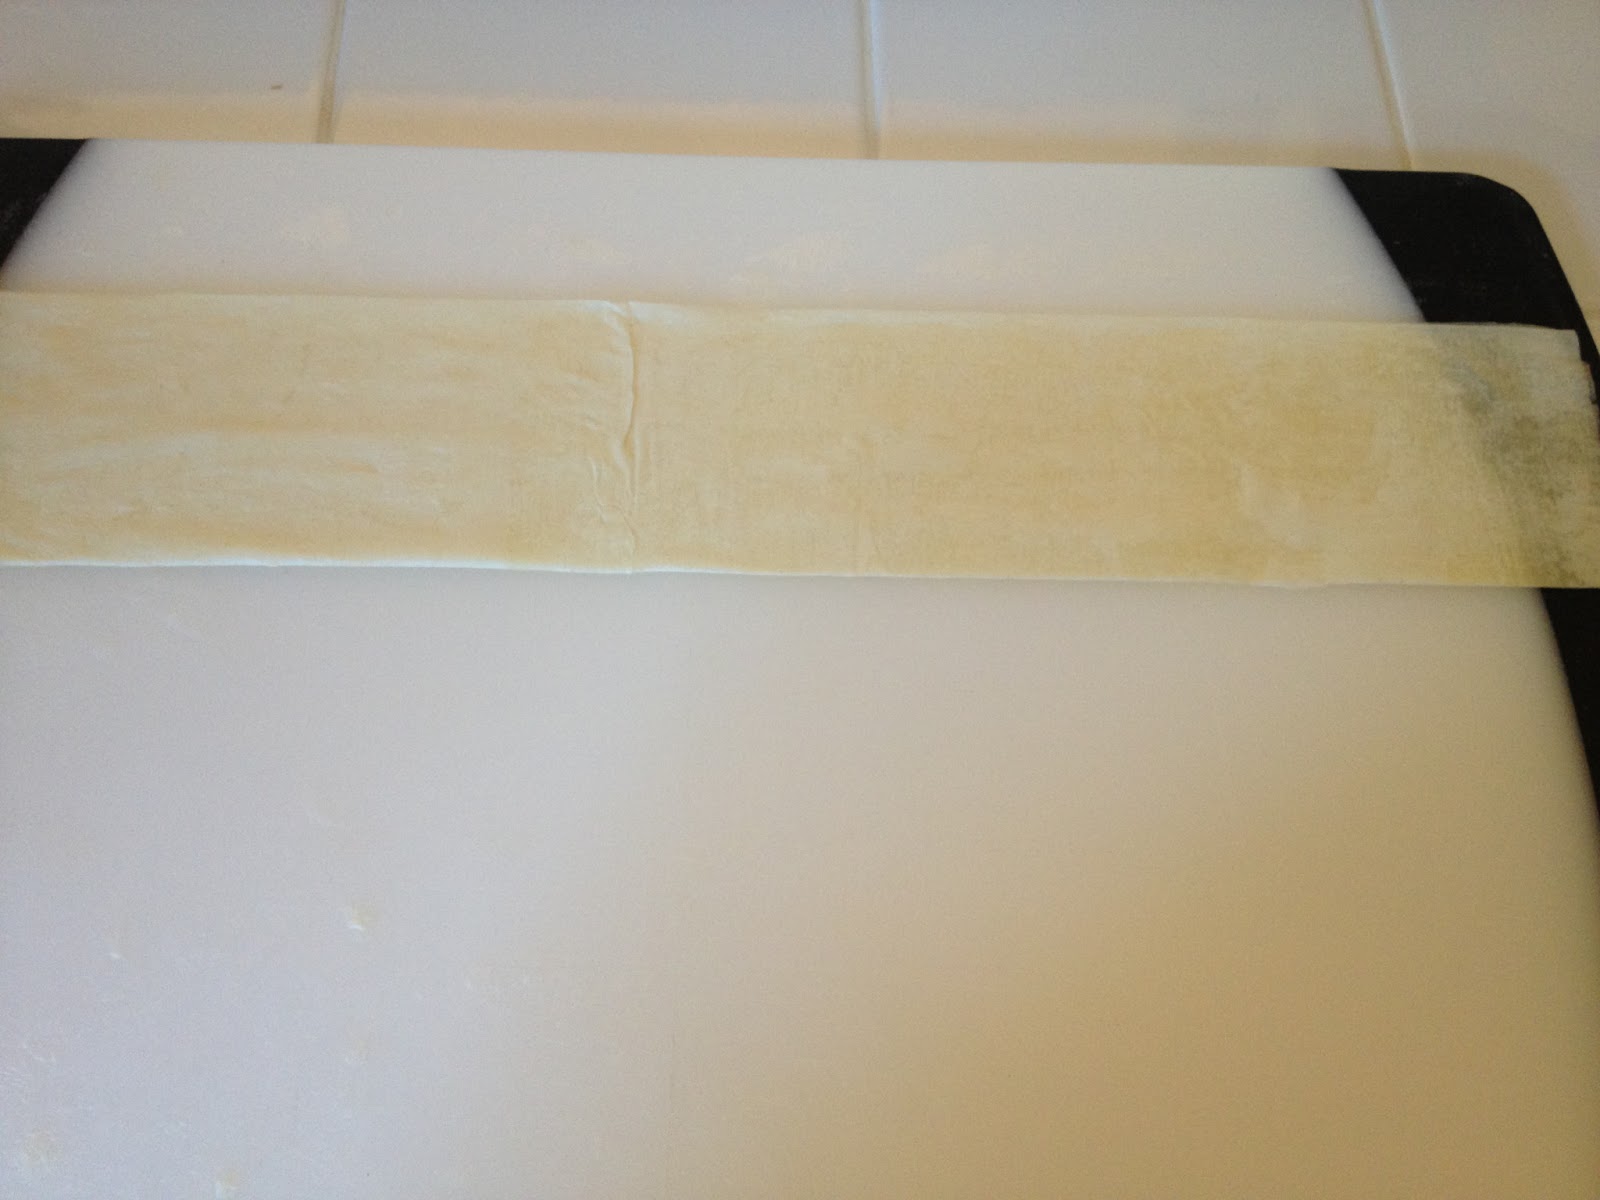
4. Peel one single sheet of phyllo and place onto a flat surface. Brush the sheet with melted butter.
5. Fold the sheet in half lengthwise. Brush with butter. Fold over once more lengthwise (so you have a long strip of phyllo) and brush again with butter.
6. Place about 1 to 1 1/2 Tbsp of apple filling onto one end of the phyllo.
7. Roll into a triangle shape (like a flag).
8. Brush the outside with more butter and top with some sparkling sugar.
9. Put the turnovers onto a parchment-lined baking sheet. Bake in a preheated 375 degree F oven until golden brown, about 15-20 minutes.
10. Remove baking sheet from the oven and allow turnovers to cool. Then, eat!

Friday, January 4, 2013

sticky buns galore

DISCLAIMER:
If you are counting calories, do not continue reading. Also, if you don't believe that all things taste better with butter and sugar, then this recipe may disgust you. And, one more thing.. I cannot assure you that this isn't a jump on the diabetic train.

Okay, let's get to the good stuff.

Dare I say, I know how to make me a good sticky bun. My interest in making sticky buns all began a few years ago when I watched an episode of Throwdown with Bobby Flay featuring Joanne Chang. From that moment on, I knew I could never make cinnamon rolls without a sticky goo.

Years ago when I started this sticky bun mission, I found an A-MAZ-ING brioche dough recipe here. The yield for the original recipe was way too much for me. However, in my attempt to halve the recipe, I realize now I totally don't know how to do math. Duh, 3 teaspoons equals 1 tablespoon. 1 1/2 is half of 3, not 2 1/4. Wow. I don't even know how that happened. I have no excuse for how I messed that up. But you know what? It ended up working out just fine.

So here's how I make my sticky buns:

Sticky Buns Recipe
(yields about 24)

Brioche Dough
(adapted from Artisan Bread in Five)

INGREDIENTS
3/4 cup lukewarm water
2 1/4 tsp granulated yeast (1 packet)
2 1/4 tsp kosher salt
4 large eggs, lightly beaten
1/4 cup honey
3/4 cup (1 1/2 sticks) unsalted butter, melted and slightly cooled
3 3/4 cups all-purpose flour

DIRECTIONS
1. Mix the yeast, salt, eggs, honey, melted butter, and lukewarm water in a 5 quart bowl (I use a stand mixer with paddle attachment)
2. If using a stand mixer, switch to dough hook and mix in flour. This can also be done with a spoon in a regular bowl. Mix until flour is just incorporated.
3. Cover the bowl (not airtight) and allow to sit at room temperature for about 2 hours.
4. Wrap the dough up with plastic wrap and pop it into the refrigerator to chill. The dough can be used as soon as it's chilled and can be stored in the refrigerator for up to 5 days.

**NOTES
I use a stand mixer now because I've become dependent on that gem. However, when I first made this, I alternatively used the bowl and spoon method. Honestly, go with whichever you prefer. The outcomes are exactly the same, in my opinion.
The key is to not over mix. However, I want to stress that incorporating the flour well is very important.  If there are lumps in the dough, those lumps will harden after it rises and even more after it's chilled. I advise adding the flour a little at a time, but still.. I think lumps are pretty much inevitable without over-working the dough. The upside is, the lumps have no impact on the outcome of the dough after it's baked. I do my best to make sure the dough is as smooth as possible when I roll it out, but I think I'm just personally irritated with the idea of lumpy dough.
I usually make this dough the night before I want to make sticky buns. Because of the time it takes for the dough to rise and chill, doing everything in one day is just too much even for me. So, chilling time is usually overnight for me. When I open the refrigerator in the morning, my wrapped dough looks more like an inflated pillow. Don't be alarmed. That's just the yeast still working. Once you unwrap the dough it looks normal.

Prepping the brioche dough: Once the brioche dough is all set and ready to use. It's time to roll that baby out. You will need lots of all-purpose flour handy to prevent your hand, board, rolling pin-- everything- from sticking. All-purpose flour will be your best friend guaranteed.

You can use the whole batch of dough at once, use only half, a third, whatever floats your boat. I use it all because my friends hate when I don't make nearly enough. I never measure the dimensions of my dough rolled out. But a good rule of thumb is to start from the center and roll outwards. You want to roll the dough into a rectangular shape, about an even 1/4" thickness all the way around. The dough shouldn't be too thin, because it will be more difficult to roll up once the filling is in there.

Cinnamon Roll Filling

INGREDIENTS
1 3/4 cup light brown sugar
1/4 cup cinnamon

DIRECTIONS
1. Mix light brown sugar and cinnamon together. Or if you don't want to waste a bowl to mix these in, just dump the light brown sugar and cinnamon straight onto the dough and blend together.
2. Spread all over the rolled out brioche dough, leaving about a 1/2" border around. Although I tend to only leave that border only along the sides where I begin rolling and where my rolling will end. 
3. Additional filling ingredients are optional. I love using some chopped nuts or diced apple. If you do want to add something extra, center it along the length of the roll. Do not spread it all over-- I've done that and the rolls won't be as easy to roll or cut up. 
**NOTES
This is the about the proportion I use to fill the whole batch of brioche dough rolled out in one rectangular sheet. However, more/less of this cinnamon-brown sugar mixture may be needed depending on the surface area of the dough you are place it on.
I use quite a bit of cinnamon with the brown sugar because, as it cooks, they will caramelize quite nicely and that cinnamon sugar will combine with the goo. It's best to use your own judgement.

Rolling the cinnamon rolls:
1. Start from one end (one of the longest ends) and start tucking in the dough.
2. Continue rolling and tucking underneath. The dough should be rolled up as tight as possible. The tighter it's rolled up, the better the filling will stay inside.
3. Once you get to the end, I use a pinching technique-- pull the loose end over to complete the roll and pinch it closed. It should stick. (It sticks better if there is little to no flour on this end.)
4. Now, let this hang out while you get the goo ready.

The Goo

INGREDIENTS
1/2 cup (1 stick) unsalted butter
1 cup light brown sugar
2 tbsp honey
2 tbsp whipping cream

DIRECTIONS
1. On medium-high heat, melt the unsalted butter in a saucepan on the stovetop.
2. Stir in the light brown sugar. As this mixture heats, it will bubble. Continue gently stirring for about 2 minutes.
3. Lower the heat to about medium and add the honey and whipping cream. *
4. Stir until consistency (about 1-2 more minutes)
5. Turn of heat and remove saucepan from stove. Add in optional toppings as desired.

**NOTES: I use the whole batch of goo for one baking dish. However, I end up with more sticky buns than will fit in the dish. So, double the batch of the goo or do as I do and make it twice for 2 variations.

>>Variations
Apple Goo: 1 1/2 cups diced granny smith apple
Orange Pecan Goo: 1 tsp orange zest + 1 Tbsp freshly squeezed orange juice (*add this at step 3) + 1 cup chopped pecans

Sticky Bun Assembly: 
1. Pour the complete goo mixture into a baking dish.
2. Spread the goo along the bottom of the dish evenly.


3. Cut the cinnamon rolls-- about 3/4". If the dough seems too sticky to cut through, at a little all-purpose flour to your knife. I never have a problem with a super sharp knife though.
4. Then, spread the cinnamon roll slices out onto baking dish, leaving a little room in between each and not pressed up against the sides of the dish. They will rise and poof when baked.
5. With your fingertips, press down on the center of each roll. This will help them them bake at an even level or else the final product will have protruding middles.
6. Pop them into a preheated 350 degree F oven for about 22 minutes or until they begin looking golden brown on top. The cinnamon sugar swirl should look less sugary/coarse and more liquidy and caramelized.

7. Once they are done baking, pull the dish out of the oven and let them cool for 3-5 minutes. When serving, flip the rolls over and spoon extra goo from the dish over each of the rolls so it can drip in between all the crevasses of the swirls.

Apple-Stuffed Sticky Buns with an Apple Goo:

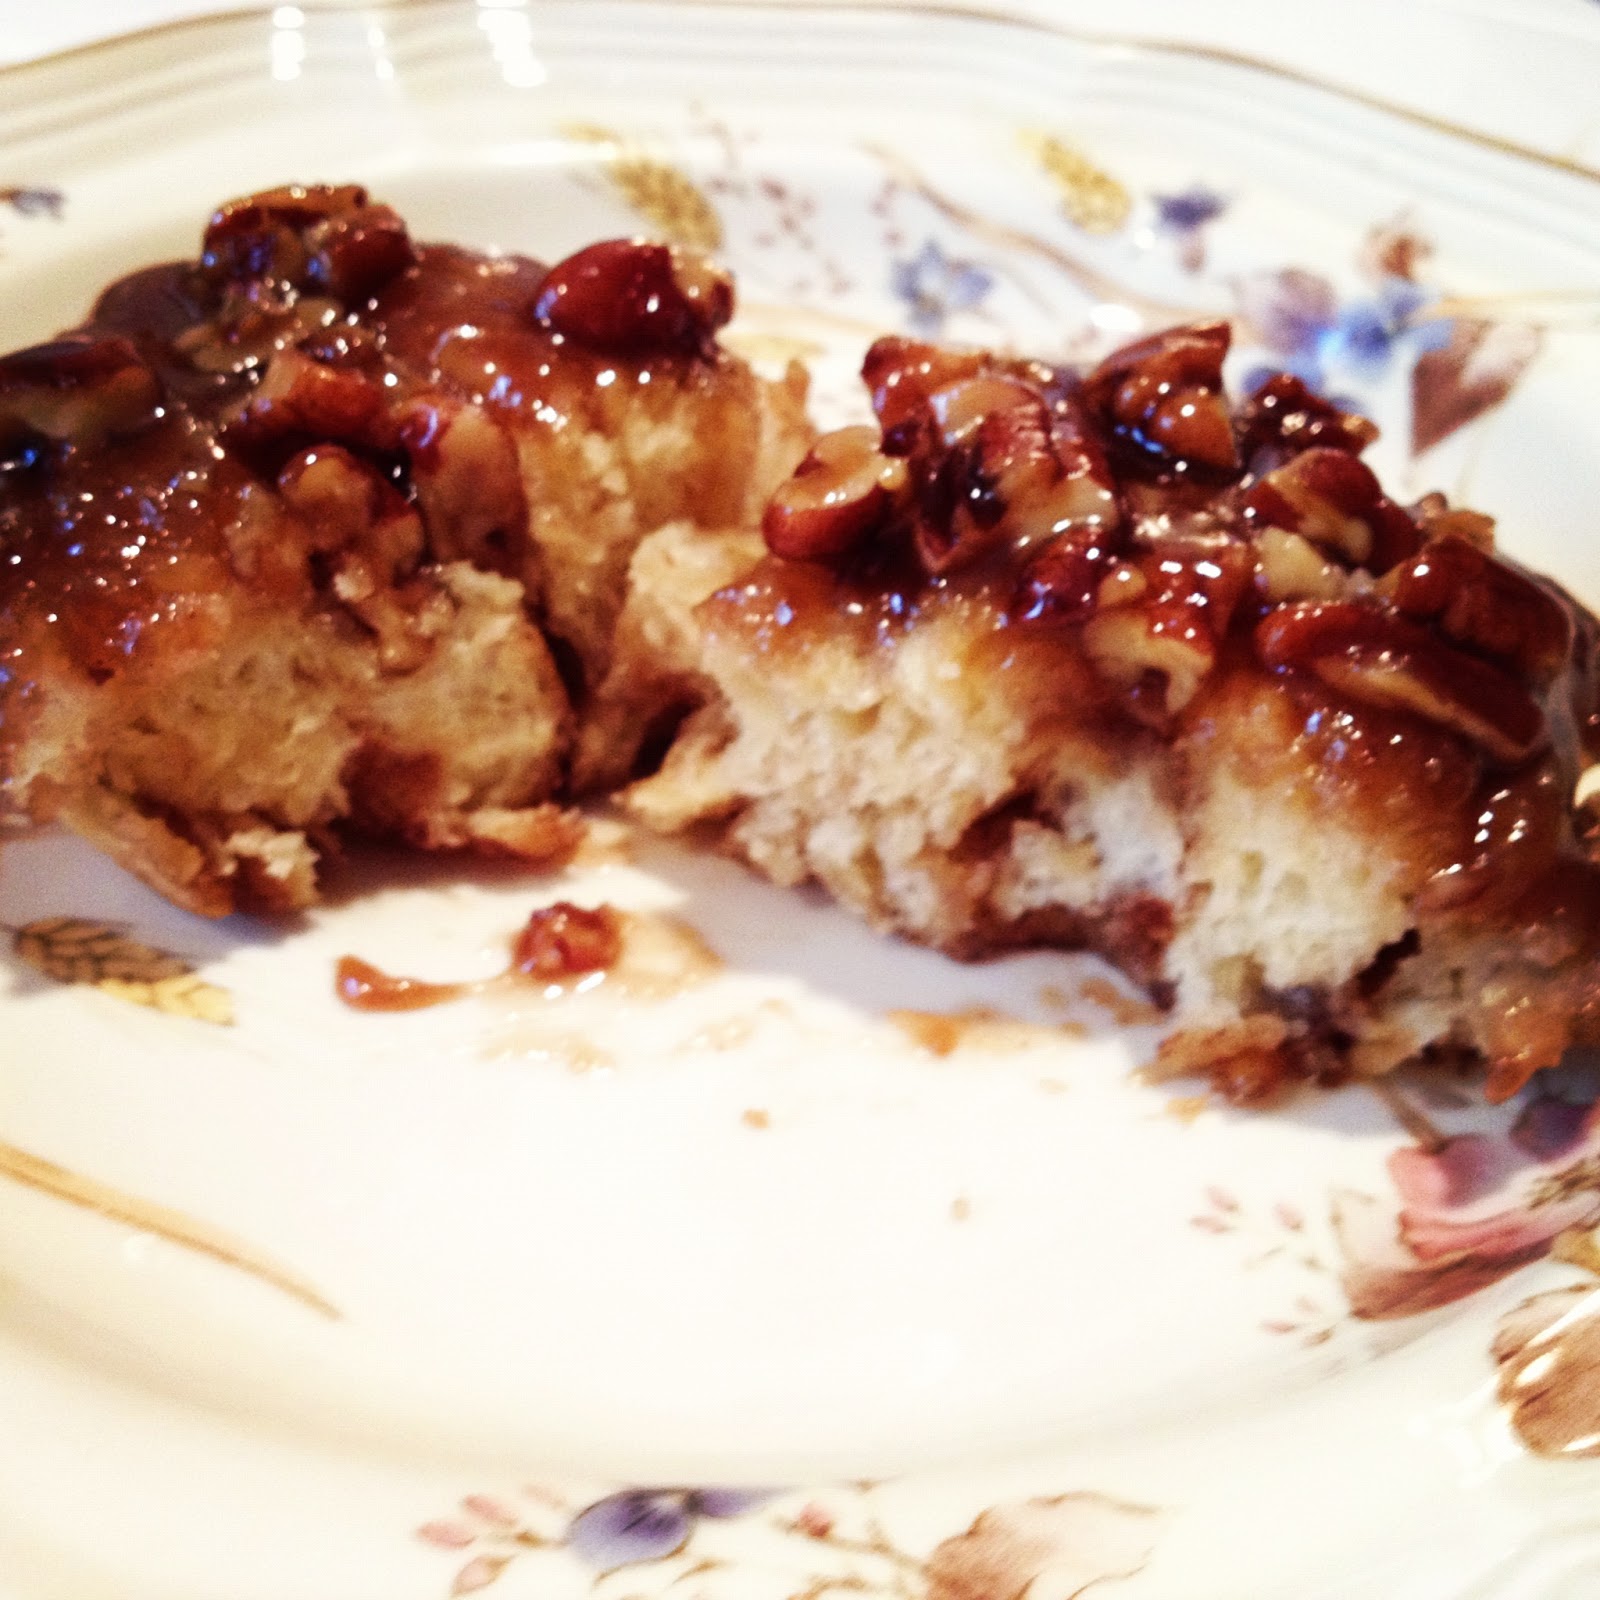
Sticky Buns with an Orange Pecan Goo:

Dive in and eat one right away-- they are the best when they are warm, the goo is still gooey, and the brioche is perfectly tender.


I don't make these sticky buns all the time. I think they are so great, because they are really a treat. I only make them about once or twice a year. These sticky buns are filled with so much sugar and butter, which is why they are so delicious. I strongly believe in indulging, but that's always best (and to me, even more satisfying) in small doses. If you are craving something sweet, this never fails.