Sunday, January 27, 2013

salmon and veggie cakes

Happy NBA Sunday! So far, I've spent my morning watching NBA on ABC and I don't see that changing anytime soon since Thunder/Lakers are up next.

During halftime of this Heat/Celtics game, I cooked up some salmon cakes. Salmon cakes are by far the best breakfast/brunch if you have leftover salmon in the fridge. I made a batch a couple weeks ago on a whim. I loved how they turned out, so I decided to make them again. They also happen to be gluten-free and Paleo!


Salmon and Veggie Cakes
Yields about 11

INGREDIENTS 
1 cup salmon, cooked and shredded (gently break up with hands)
1/3 cup onion, finely diced
1/3 cup red bell pepper, finely diced
1/3 cup broccoli, finely chopped
1 large egg
3/4 cup almond flour
1 tsp parsley, chopped
pinch of salt and pepper
olive oil

DIRECTIONS
1. On the stove, heat a skillet/saute pan on medium high heat with a drizzle of olive oil. When the pan is hot, add onion, red bell pepper, and broccoli. Saute until veggies are all tender. This should only take a few minutes since the veggies are finely diced. Remove from heat and allow veggies to cool.
2. In a medium mixing bowl, add salmon, 1 egg, cooled veggies, parsley, salt and pepper. Use a fork to combine together well.
3. Then, add almond flour to mixture. Gently incorporate. The mixture should look sticky but not wet. If the mixture looks too wet, add a little more almond flour.
4. To the same skillet, add a drizzle of olive oil and heat to medium/ medium high.
5. Place about 1 to 1 1/2 Tbsp portions of the salmon and veggie mixture to the hot skillet. Press down slightly on each dollop to flatten for even cooking.
6. These cook quickly. With a spatula, flip each cake over once it is golden brown on the bottom. Cook for a couple more minutes on the other side.
7. Turn off the stove, and serve right away while they are still warm!

These aren't baked but they are definitely good! I'm letting my oven rest because I will be baking up a whole lot of sweetness tonight..

Thursday, January 24, 2013

madewell + layered necklaces

So, in case you didn't hear, Madewell is having a promo-- extra 40% off sale items thru January 28th (use code: LOVE40). The problem is, you have to really stalk the site if you want to snag something, because everything sells out quickly. I've seen a few new items added to the sale section throughout the week, but mostly they keep lowering the sale price on the last of what they cannot sell.

I did happen to order a few items last week. It was one of those "I'm up at 3am and have nothing to do so I'll shop online" impulse buys. That maybe happens often. Anyway, I just received my order a couple days ago and, let me just say, my clicking finger didn't disappoint.

Today was all gloomy, rainy, and depressing. Yet, it did not stop me from wearing one of my new sweaters. After all, I did receive some new baubles last week I've been dying to wear. 3am purchases unite!

sweater: Madewell || pants: J. Brand [similar: here] || boots: Bandolino

Bauble of the Day: Brushed Tab Strand and Black Mesh Pearl Bib from BaubleBar. These are my most recent BaubleBar purchases and I am obsessed. Usually, I'm a one statement necklace per day kind of girl. But I couldn't help it! There's something about these two necklaces together that makes me swoon a little bit. And because I have no shortage of sparkle, I may have also thrown on the Ice Cluster Studs (no longer available on site), as well. They are kind of my favorite earrings ever.

Wednesday, January 23, 2013

orange balsamic glazed brussels sprouts with bacon

I personally don't know why people dislike/hate/are revolted by brussels sprouts. I assume it's due to a bad experience. I never ate brussels sprout anything growing up, so for a long time I never knew how they tasted or what to do with them. Then, I had a life-changing brussels sprout moment at Motorino in New York a few years ago. Brussels sprout and pancetta pizza.. holy goodness. That pizza is so scrumptious that it hurts to be 3,000 miles away. I literally want to cuddle with that pizza. Okay, I'll keep it G-rated and stop now. It's not even possible to recreate the depth of flavor developed by brussels sprouts roasted in a brick oven. So if you are ever in the East Village, stop by Motorino and know that I am jealous. I don't really miss pizza much, but that pizza.. it doesn't make me feel even a smidge guilty for binging on gluten and cheese.

Okay moving on, back to brussels sprouts. I don't mind them just oven-roasted with EVOO, salt and pepper. But today, I was feeling adventurous and decided to add a twist.


Orange Balsamic Glazed Brussels Sprouts with Bacon

INGREDIENTS
1 lb. brussels sprouts
1 Tbsp extra-virgin olive oil
1/4 tsp salt
1/4 tsp pepper
1 Tbsp + 2 tsp balsamic vinegar
2 tsp honey
1 1/2 tsp fresh-squeezed orange juice
2 slices of cooked thick-cut bacon, crispy
orange zest for sprinkling (optional)

DIRECTIONS
1. Preheat oven to 400 degrees F.
2. Prepare brussels sprouts. For each brussels sprout, cut off and throw away the brown end. Then, cut each brussels sprout lengthwise into thirds. Don't worry about this being perfect. Place onto a rimmed baking sheet. 
3. Add the EVOO, salt and pepper to the brussels sprouts. Gently toss until the brussels sprouts are evenly dressed.
4. Bake in the preheated oven for 15 minutes. Then, stir the mixture around. Bake for an additional 10 minutes until they are tender and the leaves have browned.
5. Prepare the orange balsamic glaze. This can be done while your brussels sprouts are baking. In a frying pan on medium heat, add the balsamic vinegar, honey, and orange juice. Allow the mixture to cook for about 5 minutes until it looks like it is reduced to about half the amount. It does not look like much but it will be just enough for the shrunken brussels sprouts.
6. Add brussels sprouts to the glaze in the frying pan. Carefully stir together until brussels spouts are lightly coated. 
7. Turn off heat and pour into a separate bowl. Roughly chop or crumble the crispy bacon and use it to top the brussels sprouts. Add a sprinkle of orange zest if desired.
8. Serve, eat, enjoy!

I paired my brussels sprouts with a salmon fillet. I only added lemon pepper to the skin and cooked it in the same frying pan with some EVOO. I've been pan-frying my salmon lately instead of baking it in the oven, mostly because I've been dealing with skinned salmon. I find that by cooking it in the pan, I can get the skin really nice and crispy and it somehow also turns out perfectly moist every time. If I did have a skinless fillet, I would then prefer baking it in a foil packet with herbs, fresh lemon, onion slices, and cherry tomatoes. But that sounds like another recipe for another day..

Sunday, January 20, 2013

sausage and spinach frittata

Sunday brunch is my favorite meal of the week. Because it's Sunday, I will spend a few extra minutes staring into my refrigerator, trying to get inspired.

Eggs are definitely a friend to the Paleo community. It's the one exception to the "no dairy" rule and such a versatile ingredient. Scrambled, fried, hard-boiled, poached.. I'll eat it in any form (except raw because I'm not that hardcore).

I haven't made a frittata in a while. But I whipped up a good one today that was so so incredibly perfect. Yes, I said perfect. And I mean it! Don't be intimidated by the word frittata, we're just dealing with eggs.


Sausage and Spinach Frittata
About 6 servings

INGREDIENTS
8 eggs
1 cup sausage crumbles (about 2 good-sized spicy sausage links, uncased)
1 cup sauteed veggie mixture (about 1 small onion + 1 red bell pepper, diced small)
1 cup uncooked baby spinach
olive oil 

**NOTE: I didn't add any extra seasoning because I used a spicy sausage. Feel free to add some s+p and/or fresh herbs to amp this up!

DIRECTIONS
1. Preheat oven to 350 degrees F.
2. Dice onion and red bell pepper and set aside. I prefer a smaller dice, which seems to make for a more balanced frittata. 
3. Prepare sausage crumbles. On the stove top, heat a saute pan on medium to medium high heat. Add a drizzle of olive oil to the pan. Once the pan is hot, break up the sausage into fairly small pieces and drop into saute pan. Do not stir sausage around constantly. Allow to brown a bit and then flip over to finish cooking. They should be in crumbles but not crumbs-- there's a difference! The more you stir, the more crumbs you will make. When the sausage is cooked, place into a separate bowl. Leave all the sausage grease in the pan.
6. Prepare veggie mixture. Still on medium to medium high heat, add the diced onion and bell pepper to sausage grease. Cook veggies until they soften. The onions will soften a bit more than the red bell pepper. Then turn off the heat and let veggies cool down.
7. Put it all together. In a medium mixing bowl, lightly beat together eggs with a whisk. Add cooled veggie mixture and 3/4 cup of the sausage crumbles to eggs and mix together. Gently stir in spinach.
8. Lightly grease a baking dish with olive oil. Pour entire egg mixture into the dish and spread so mixture is evenly distributed. Scatter reserved 1/4 cup of sausage crumbles to the top of the egg mixture.
9. Bake in preheated oven for about 35 minutes or until fully cooked. If you pat the top of the frittata, the egg should feel like it's springing back.
10. Remove from the oven and allow to cool for about 5 minutes (or as long as you can wait!) before serving. If your baking dish was well-greased, the frittata will start pulling away from the edges as it cools.

No milk, cream, cheese, bread crumbs, whatever crazy things people add these days.. This frittata doesn't need all that. It maintains such a wonderful, tender consistency because of the low and slow baking. As long as you don't keep opening the oven to check it, it will turn out beautifully.

Friday, January 18, 2013

a week of granola

I am addicted to granola. I will put it on anything and everything, but it's even better on it's own as a snack. The problem is that most granola on the market contains oats/grains, and well that's not Paleo-friendly. Even if you can track down a good granola or trail mix, they always seem overpriced for such a small portion. And all that money for snacking adds up, which just makes me want to buy a $.99 bag of chips.

Well, guess what? Granola is actually so simple to make. I used to make it with oats, but now I just pack it with variety of nuts, seeds, and dried fruit to make it super hearty and delicious. Grain-free, Paleo-friendly, and unprocessed-- there's really no need to buy granola again.

Grain-Free Granola
yields about 7 cups

INGREDIENTS
1 1/2 cups sliced or slivered almonds
1 cup roasted, unsalted sunflower seeds
1 cup roasted, salted pepitas
1 cup roughly chopped/crushed unsalted cashews
3/4 cup chopped unsalted walnuts
1/2 cup dried blueberries
1/2 cup dried cranberries
1 cup shredded coconut
1 1/2 tsp ground cinnamon
1/4 cup honey (I used a dry measuring cup)
2 tsp coconut oil, melted

DIRECTIONS
1. Preheat oven to 350 degrees F.
2. Put all ingredients into a large bowl. Combine everything together well with a wooden spoon.
3. Dump the mixture onto a parchment lined baking sheet and spread out into an even layer.
4. Bake in your preheated oven for about 20 minutes, gently mixing the mixture in between.
5. Remove from the oven and allow to cool on the baking sheet.
6. Granola can be stored once cooled.

**NOTES: I couldn't find any pepitas that were roasted AND unsalted. Since I don't add any extra salt to the recipe, it's okay to have one of the nuts/seeds be salted. However, be careful because I find that the "salted" versions tend to be overly salty. I advise buying everything unsalted and add a dash of salt to the mixture if you'd like, so that you can better control the amount of salt.
Seriously, SO easy. One bowl, one spoon, one sheet. That's it. This is a great snack for a group, but I usually try to keep it all for myself. Since it makes about 7 cups, I measure 1 cup of granola into 7 sandwich baggies. Then, I have a snack already prepared for each day of the week! Now, someone please pass me a bowl and unsweetened coconut milk. I'm about to have a cereal break right now.
Enjoy my Grain-Free Granola! Hope you love it!

Thursday, January 17, 2013

apple turnovers

Apples are definitely the best fruit ever.. especially in any baked form.

Whenever I have a craving to bake, I usually make a rustic apple pie and call it a day. It's relatively quick, easy, and it's pretty darn good. However that buttery, flaky crust requires a little bit of nonfat milk (shhh), and milk is not a staple in my Paleo fridge. And thus enter Plan B: apple turnovers.

I may have slipped some phyllo dough into my cart during my Trader Joe's trip yesterday with some fire-roasted red bell peppers and sausage. Clearly, my intention was to make something savory. Shocker.. I went with sweet instead.

Because of the layers of phyllo and butter created by the folding technique, these turnovers are incredibly flaky. Right when you bite into it, they are crisp yet also resemble a sense of lightness. Then, the crunch from the course sparkling sugar. YUM. When you hit the apple, orange zest, and cinnamon filling, something magical happens. If warmth was a flavor, I imagine this is how it would taste-- just the right amount of spice and sweetness. And let's face it, two fruits are always better than one. I don't even know what to say except.. SO GOOD.

Apple Turnovers
Adapted from Big Oven
Yields 18-20

INGREDIENTS
4 medium granny smith apples, peeled and diced (smaller dice is better)
2 tsp orange zest
1/4 c. light brown sugar
1/4 c. white granulated sugar
1 tsp vanilla extract
1/4 tsp kosher salt
1 Tbsp cornstarch
1 tsp cinnamon
1 lb package of phyllo dough (20 sheets) 
melted butter (lots of it!)
sparkling sugar

DIRECTIONS
1. In a medium saucepan on medium low to medium heat, add apples, orange zest, light brown sugar, white granulated sugar, vanilla, salt, cornstarch, and cinnamon. Cook until mixture thickens, stirring occasionally.
2. Remove saucepan from the heat and set off to the side to cool down.
3. Take phyllo dough out of the package, unroll the stack of sheets, then cover with damp dishtowel. The phyllo dough will dry out quickly, so keep covered with the damp dishtowel when not using.
4. Peel one single sheet of phyllo and place onto a flat surface. Brush the sheet with melted butter.
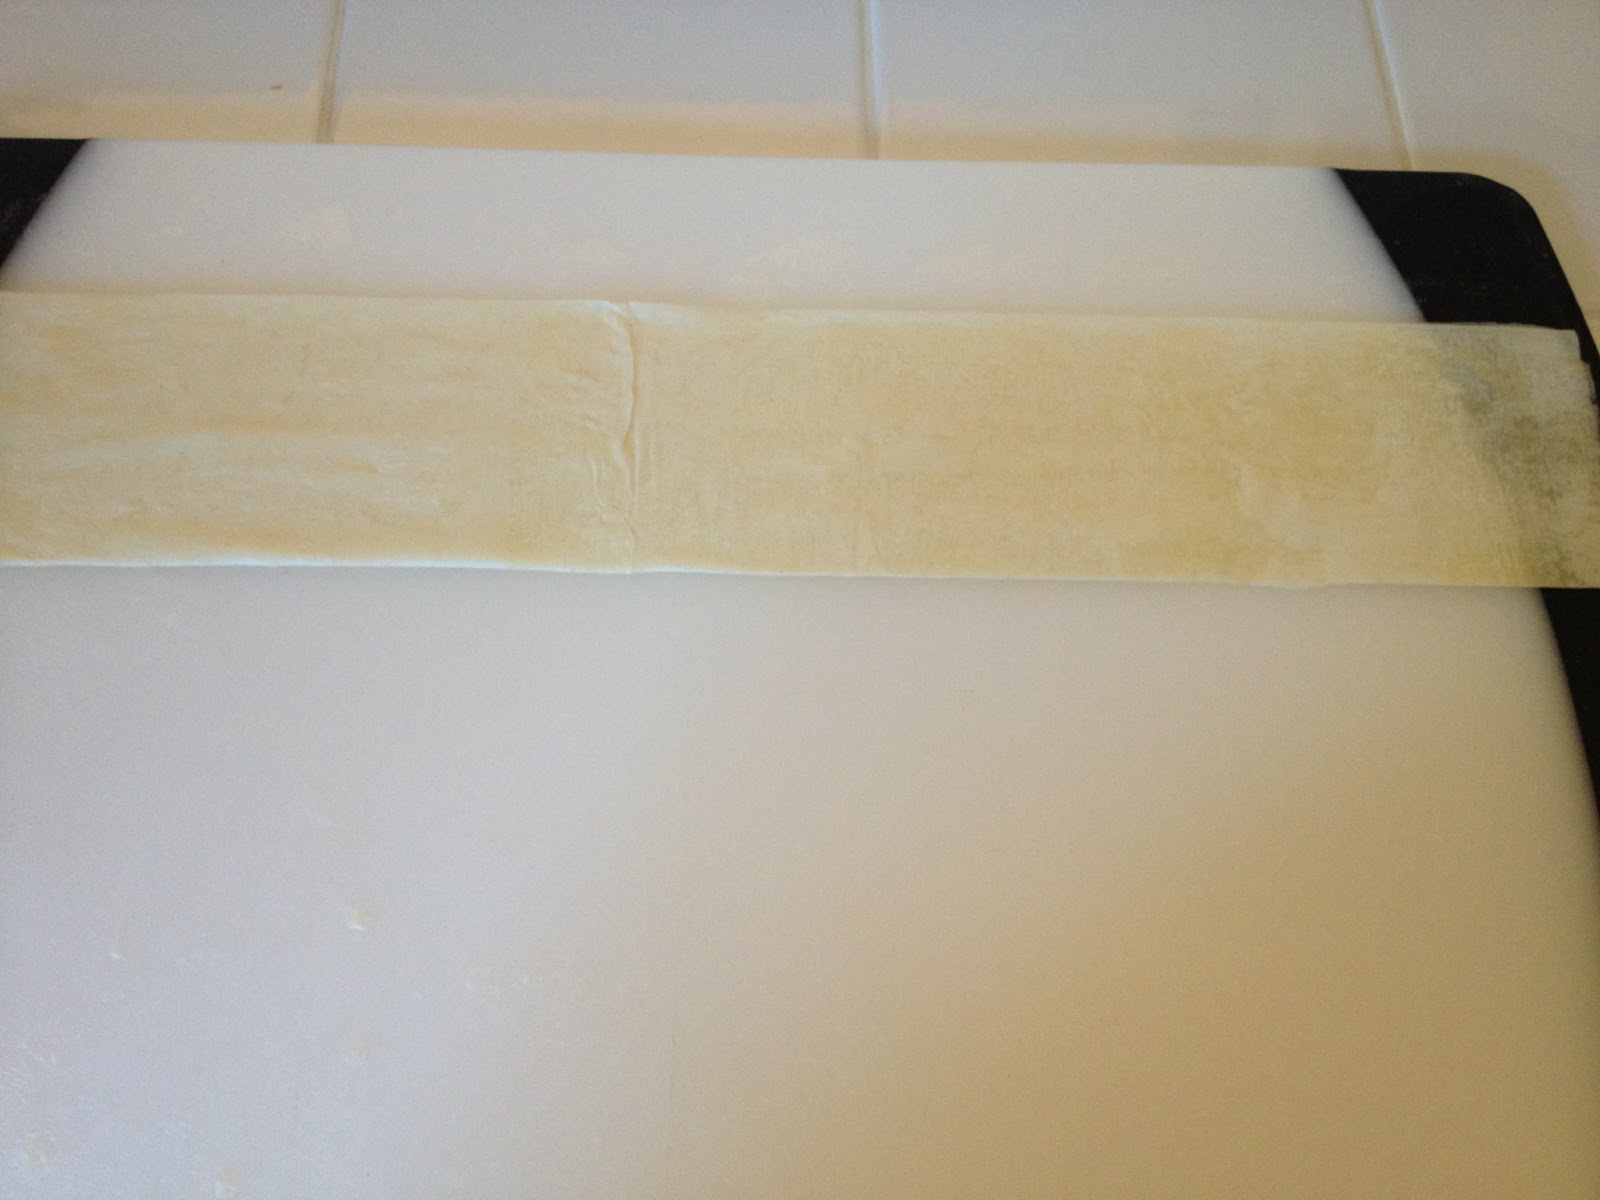
5. Fold the sheet in half lengthwise. Brush with butter. Fold over once more lengthwise (so you have a long strip of phyllo) and brush again with butter.
6. Place about 1 to 1 1/2 Tbsp of apple filling onto one end of the phyllo.
7. Roll into a triangle shape (like a flag).
8. Brush the outside with more butter and top with some sparkling sugar.
9. Put the turnovers onto a parchment-lined baking sheet. Bake in a preheated 375 degree F oven until golden brown, about 15-20 minutes.
10. Remove baking sheet from the oven and allow turnovers to cool. Then, eat!

Friday, January 11, 2013

baked crispy kale chips

I don't know why it's taken me so long to make kale chips. Really, though. I came home from my New York vacation vowing to get back to Paleo.

The first thing I did was open my fridge to find a bunch of kale I had bought right before I left. It looked good still, so I decided that I should just use it right away. I knew I wanted to make kale chips, but I have very little experience working with kale. So, obviously I turned to Google to give me some answers.

I stumbled upon a Food Network recipe by Melissa d'Arabian. It looked promising.. 5 star rating, lots of reviews, and look at that.. it has "Crispy" right there in the title. Bingo.

Crispy Kale Chips
Recipe courtesy of Melissa d'Arabian via The Food Network

INGREDIENTS
1 head kale, washed and thoroughly dried
2 tablespoons olive oil
sea salt, for sprinkling

DIRECTIONS
1. Preheat the oven to 275 degrees F
2. Remove the ribs from the kale and cut into 1 1/2-inch pieces. (Just break up with your hands)
3. Lay onto a baking sheet and toss with olive oil and salt.
4. Bake until crisp, turning the leaves halfway through, about 20 minutes.

After glancing the recipe, I came across a few things: 1) Apparently you only need 3 ingredients-- kale, olive oil, and salt; 2) this is byfar the shortest recipe I've seen on the Food Network site; 3) the estimated 25 minutes for prep time is outrageous.
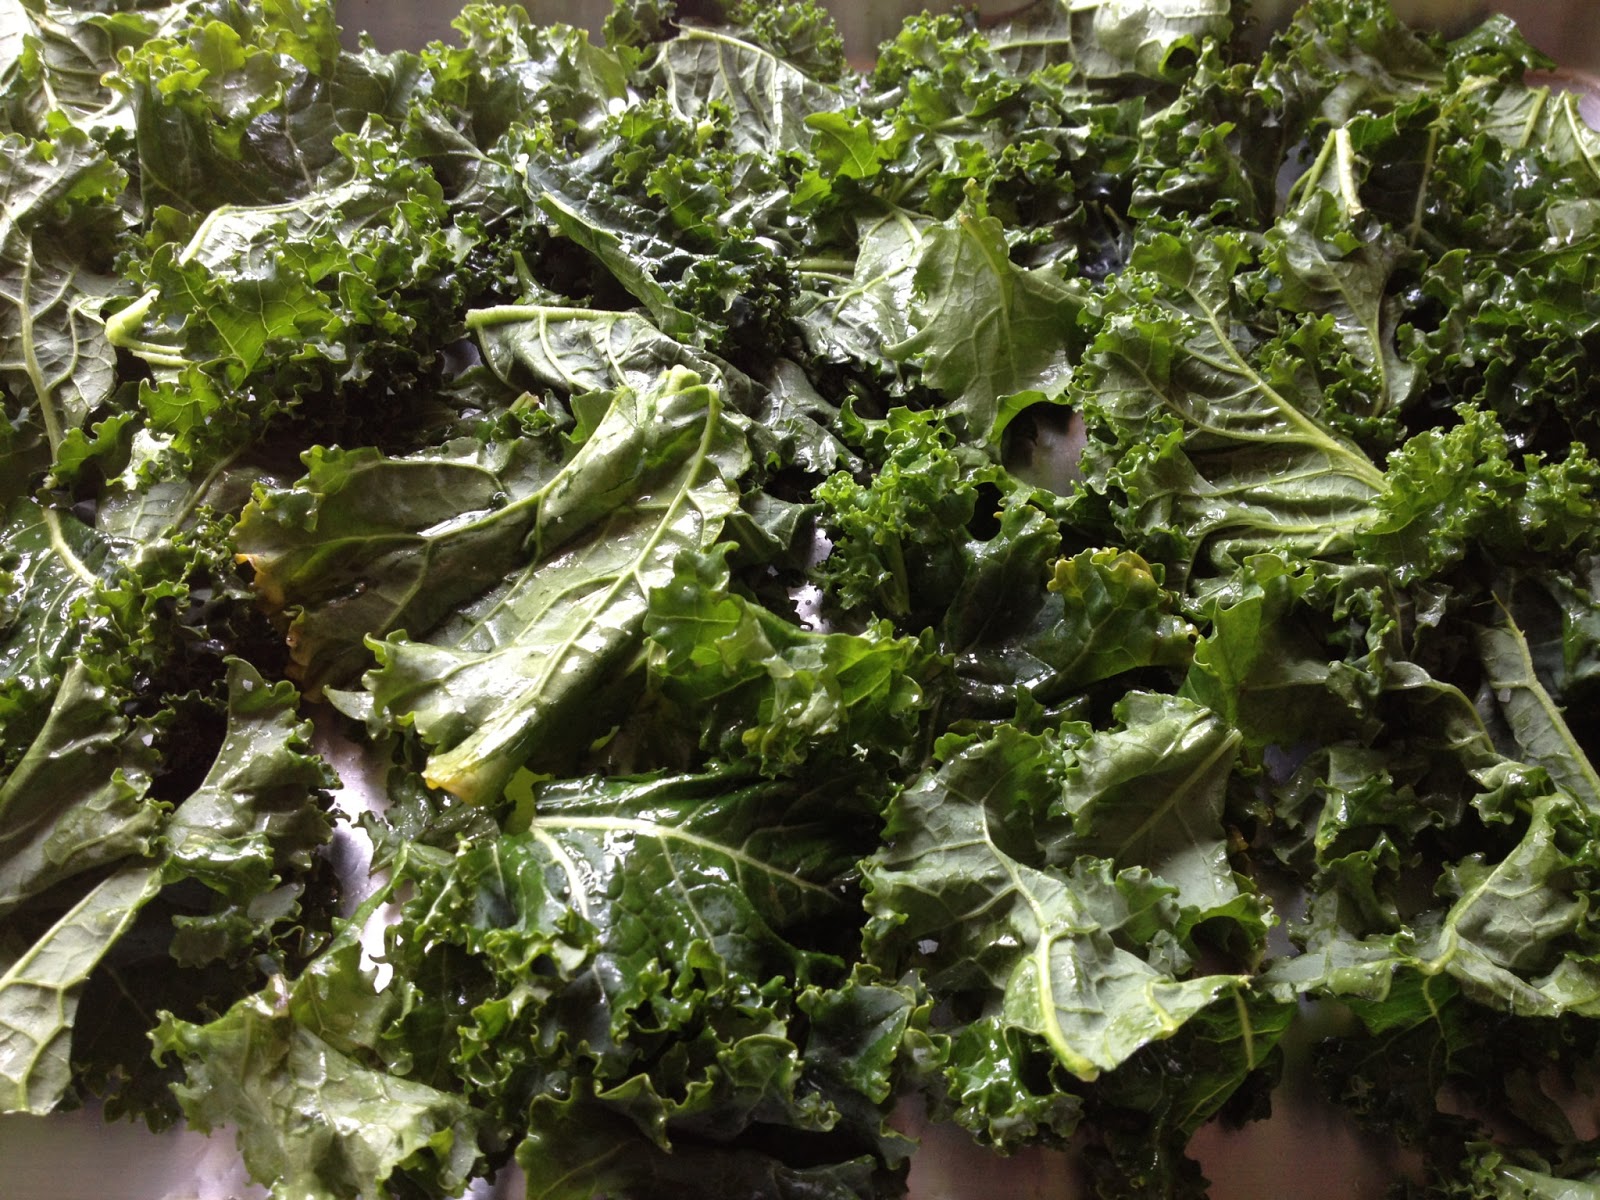
I'm a nonconformist, so I mostly only use actual measurements when I really can't afford to screw up a meal or when I'm baking (because I get really upset when I waste flour, butter, and sugar). I'm not even sure how much kale I actually had. I just washed, dried, very lightly dressed with olive oil, and sprinkled with a pinch of salt. General rule of thumb-- it's always better to under dress and under season, then add more if necessary. More is never more, people. Once you over do it, there's no going back. So, this is how my kale looked after adding the olive oil and salt:
I set all my kale onto my baking sheet, drizzled a little olive oil, tossed with my hands. The right amount of olive oil is probably what you consider to be not enough. There is no excess olive oil dripping off the leaves and onto the pan. The sprinkling of salt came at the end. I read from the reviews that it can taste very salty. So again, go with less.

As instructed, I popped my baking sheet of kale into a preheated 275 degree F oven and used 20 minutes as a marker (still flipping in between). After the 20 minutes, most of the kale was crispy but I added a few more minutes to give some of the less crispy ones more time. This is what it looked like out of the oven:
You can see the kale shrinks quite a bit. I advise buying a few bunches of kale if you intend on sharing. I'm not sure if the picture does these crispy kale chips any justice. They really do come out crispy and better than I could have imagined. If you are looking for an easy, tasty way to use kale, this is it!!
I had these kale chips with a fried egg, a couple pieces of bacon, and apple slices. Delish.