Tuesday, January 8, 2013

chambray glam

Every wardrobe should contain at least one chambray shirt. And mine, I love. It's not like all the other chambray shirts I've seen floating around. This one is soft and absolutely comfortable. Right up my alley. There are a few different color options, but I chose the Grey-Glacier. It's a perfectly muted blue-grey color that can be worn with dark denim without looking awkward (always a plus).

Citizens Leggings || Bandolino Riding Boots || chambray button down 

Bauble of the Day: Beaded Bloom Bib from BaubleBar. You know me, I can't help but glam up my basic chambray shirt a bit. I actually spotted this EXACT same necklace at J. Crew last week for $42 or $44 (something like that). The point of my story is that I got this necklace from BaubleBar for $20. Did I already mention today that I love BaubleBar?

I also put on a couple other simple pieces of jewelry to go with my statement necklace: the Gorjana Kensington Ring and Alphabet Stud Earrings. I went a little Gorjana crazy over the holidays. I just think Gorjana gold is fabulous and the pieces are extremely well made. Over the holidays they had insane sales, so now I finally have a pretty decent Gorjana collection.

All in all, I love chambray, but of course the only way I'll wear it is if I can add a little bit of sparkle.

Friday, January 4, 2013

sticky buns galore

DISCLAIMER:
If you are counting calories, do not continue reading. Also, if you don't believe that all things taste better with butter and sugar, then this recipe may disgust you. And, one more thing.. I cannot assure you that this isn't a jump on the diabetic train.

Okay, let's get to the good stuff.

Dare I say, I know how to make me a good sticky bun. My interest in making sticky buns all began a few years ago when I watched an episode of Throwdown with Bobby Flay featuring Joanne Chang. From that moment on, I knew I could never make cinnamon rolls without a sticky goo.

Years ago when I started this sticky bun mission, I found an A-MAZ-ING brioche dough recipe here. The yield for the original recipe was way too much for me. However, in my attempt to halve the recipe, I realize now I totally don't know how to do math. Duh, 3 teaspoons equals 1 tablespoon. 1 1/2 is half of 3, not 2 1/4. Wow. I don't even know how that happened. I have no excuse for how I messed that up. But you know what? It ended up working out just fine.

So here's how I make my sticky buns:

Sticky Buns Recipe
(yields about 24)

Brioche Dough
(adapted from Artisan Bread in Five)

INGREDIENTS
3/4 cup lukewarm water
2 1/4 tsp granulated yeast (1 packet)
2 1/4 tsp kosher salt
4 large eggs, lightly beaten
1/4 cup honey
3/4 cup (1 1/2 sticks) unsalted butter, melted and slightly cooled
3 3/4 cups all-purpose flour

DIRECTIONS
1. Mix the yeast, salt, eggs, honey, melted butter, and lukewarm water in a 5 quart bowl (I use a stand mixer with paddle attachment)
2. If using a stand mixer, switch to dough hook and mix in flour. This can also be done with a spoon in a regular bowl. Mix until flour is just incorporated.
3. Cover the bowl (not airtight) and allow to sit at room temperature for about 2 hours.
4. Wrap the dough up with plastic wrap and pop it into the refrigerator to chill. The dough can be used as soon as it's chilled and can be stored in the refrigerator for up to 5 days.

**NOTES
I use a stand mixer now because I've become dependent on that gem. However, when I first made this, I alternatively used the bowl and spoon method. Honestly, go with whichever you prefer. The outcomes are exactly the same, in my opinion.
The key is to not over mix. However, I want to stress that incorporating the flour well is very important.  If there are lumps in the dough, those lumps will harden after it rises and even more after it's chilled. I advise adding the flour a little at a time, but still.. I think lumps are pretty much inevitable without over-working the dough. The upside is, the lumps have no impact on the outcome of the dough after it's baked. I do my best to make sure the dough is as smooth as possible when I roll it out, but I think I'm just personally irritated with the idea of lumpy dough.
I usually make this dough the night before I want to make sticky buns. Because of the time it takes for the dough to rise and chill, doing everything in one day is just too much even for me. So, chilling time is usually overnight for me. When I open the refrigerator in the morning, my wrapped dough looks more like an inflated pillow. Don't be alarmed. That's just the yeast still working. Once you unwrap the dough it looks normal.

Prepping the brioche dough: Once the brioche dough is all set and ready to use. It's time to roll that baby out. You will need lots of all-purpose flour handy to prevent your hand, board, rolling pin-- everything- from sticking. All-purpose flour will be your best friend guaranteed.

You can use the whole batch of dough at once, use only half, a third, whatever floats your boat. I use it all because my friends hate when I don't make nearly enough. I never measure the dimensions of my dough rolled out. But a good rule of thumb is to start from the center and roll outwards. You want to roll the dough into a rectangular shape, about an even 1/4" thickness all the way around. The dough shouldn't be too thin, because it will be more difficult to roll up once the filling is in there.

Cinnamon Roll Filling

INGREDIENTS
1 3/4 cup light brown sugar
1/4 cup cinnamon

DIRECTIONS
1. Mix light brown sugar and cinnamon together. Or if you don't want to waste a bowl to mix these in, just dump the light brown sugar and cinnamon straight onto the dough and blend together.
2. Spread all over the rolled out brioche dough, leaving about a 1/2" border around. Although I tend to only leave that border only along the sides where I begin rolling and where my rolling will end. 
3. Additional filling ingredients are optional. I love using some chopped nuts or diced apple. If you do want to add something extra, center it along the length of the roll. Do not spread it all over-- I've done that and the rolls won't be as easy to roll or cut up. 
**NOTES
This is the about the proportion I use to fill the whole batch of brioche dough rolled out in one rectangular sheet. However, more/less of this cinnamon-brown sugar mixture may be needed depending on the surface area of the dough you are place it on.
I use quite a bit of cinnamon with the brown sugar because, as it cooks, they will caramelize quite nicely and that cinnamon sugar will combine with the goo. It's best to use your own judgement.

Rolling the cinnamon rolls:
1. Start from one end (one of the longest ends) and start tucking in the dough.
2. Continue rolling and tucking underneath. The dough should be rolled up as tight as possible. The tighter it's rolled up, the better the filling will stay inside.
3. Once you get to the end, I use a pinching technique-- pull the loose end over to complete the roll and pinch it closed. It should stick. (It sticks better if there is little to no flour on this end.)
4. Now, let this hang out while you get the goo ready.

The Goo

INGREDIENTS
1/2 cup (1 stick) unsalted butter
1 cup light brown sugar
2 tbsp honey
2 tbsp whipping cream

DIRECTIONS
1. On medium-high heat, melt the unsalted butter in a saucepan on the stovetop.
2. Stir in the light brown sugar. As this mixture heats, it will bubble. Continue gently stirring for about 2 minutes.
3. Lower the heat to about medium and add the honey and whipping cream. *
4. Stir until consistency (about 1-2 more minutes)
5. Turn of heat and remove saucepan from stove. Add in optional toppings as desired.

**NOTES: I use the whole batch of goo for one baking dish. However, I end up with more sticky buns than will fit in the dish. So, double the batch of the goo or do as I do and make it twice for 2 variations.

>>Variations
Apple Goo: 1 1/2 cups diced granny smith apple
Orange Pecan Goo: 1 tsp orange zest + 1 Tbsp freshly squeezed orange juice (*add this at step 3) + 1 cup chopped pecans

Sticky Bun Assembly: 
1. Pour the complete goo mixture into a baking dish.
2. Spread the goo along the bottom of the dish evenly.


3. Cut the cinnamon rolls-- about 3/4". If the dough seems too sticky to cut through, at a little all-purpose flour to your knife. I never have a problem with a super sharp knife though.
4. Then, spread the cinnamon roll slices out onto baking dish, leaving a little room in between each and not pressed up against the sides of the dish. They will rise and poof when baked.
5. With your fingertips, press down on the center of each roll. This will help them them bake at an even level or else the final product will have protruding middles.
6. Pop them into a preheated 350 degree F oven for about 22 minutes or until they begin looking golden brown on top. The cinnamon sugar swirl should look less sugary/coarse and more liquidy and caramelized.

7. Once they are done baking, pull the dish out of the oven and let them cool for 3-5 minutes. When serving, flip the rolls over and spoon extra goo from the dish over each of the rolls so it can drip in between all the crevasses of the swirls.

Apple-Stuffed Sticky Buns with an Apple Goo:

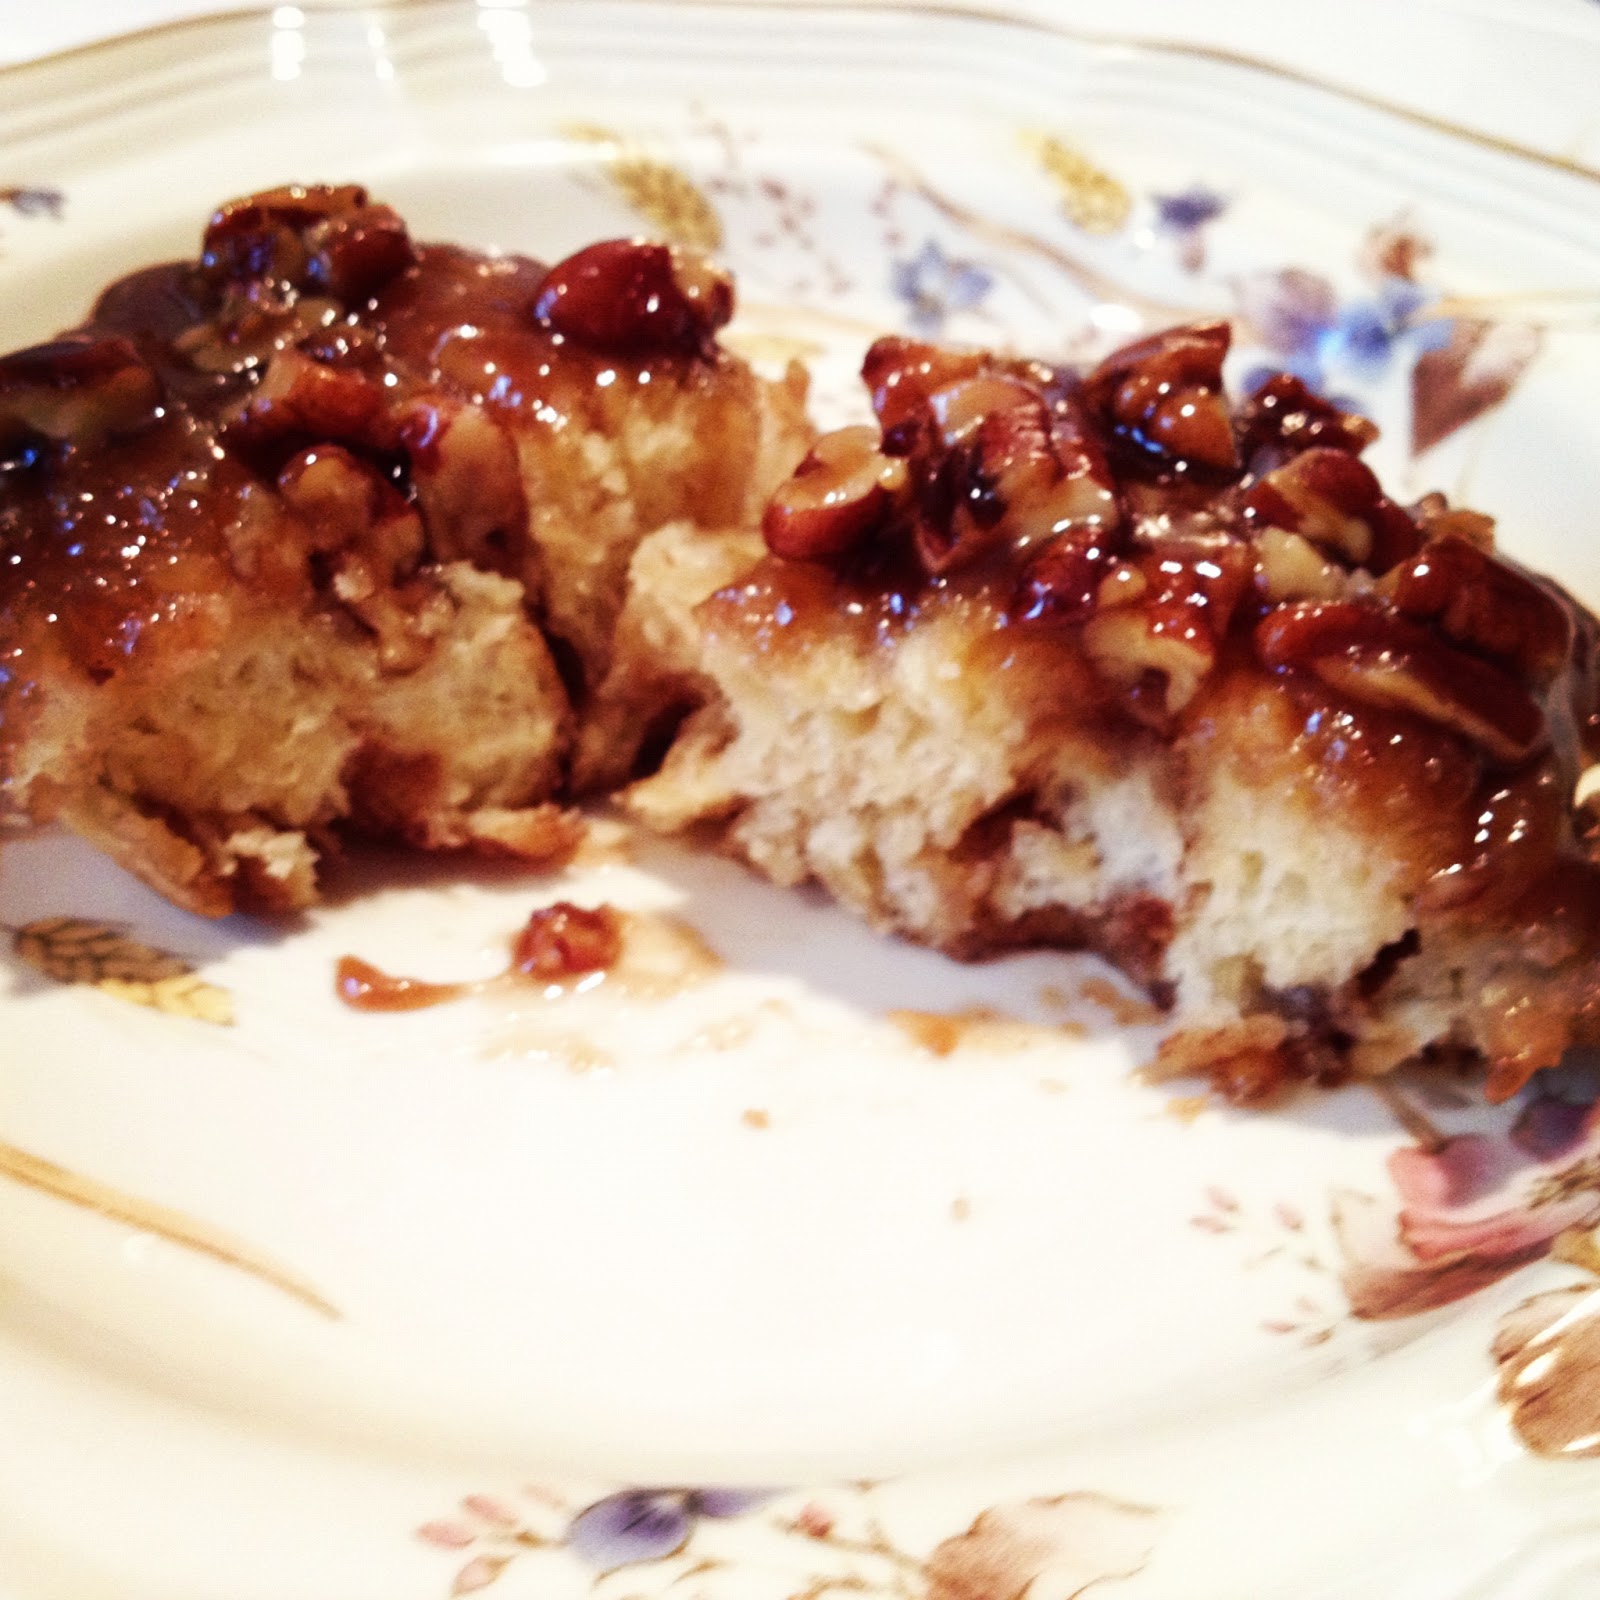
Sticky Buns with an Orange Pecan Goo:

Dive in and eat one right away-- they are the best when they are warm, the goo is still gooey, and the brioche is perfectly tender.


I don't make these sticky buns all the time. I think they are so great, because they are really a treat. I only make them about once or twice a year. These sticky buns are filled with so much sugar and butter, which is why they are so delicious. I strongly believe in indulging, but that's always best (and to me, even more satisfying) in small doses. If you are craving something sweet, this never fails.

Wednesday, December 26, 2012

World Peace for Christmas?

Merry happy Christmas! Hope everyone is as stuffed as I am. Seriously, I have been very very bad this holiday season. Oh well, I have all of 2013 to make up for my fatness of food binges this past month. Holidays are always a good excuse to cheat.

Let's face it, I bake all the time. But most of the time not everything gets eaten. Yes, that is an unfortunate outcome. Very seldom do I have sweet tooth craving. When I make 3 different batches of cookies in a day, the kitchen gets a little chaotic and I literally have stacks of baked goods that I end up taking to my friends at Starbucks. So, usually, when I have an urge to bake, I try to cater to what everyone else wants-- because my Starbucks friends are getting too spoiled these days.

Every week or so, my sister forwards me emails with recipes she wants me to make for her. To be honest, I get so many potential recipe emails, they loiter in my inbox until my sister asks if I looked at it/want to make it for her. Since I don't get to see her that often throughout the year, I try my best to feed her well (and by well I mean make whatever she wants). Her request for Christmas were these Word Peace Cookies.

For a chocolate cookie, these are surprisingly very low maintenance. The only thing I had to pick up from Trader Joe's was some good quality bittersweet chocolate. Somewhere in the range of 60-85% cacao is always good.

World Peace/Korova Cookies
Paris Sweets, Dorie Greenspan via Smitten Kitchen
Makes about 36 cookies

1 1/4 cups all-purpose flour
1/3 cup unsweetened cocoa powder
(I used unsweetened Dutch cocoa powder)
1/2 teaspoon baking soda
1 stick plus 3 tablespoons unsalted butter, at room temperature
2/3 cup (packed) light brown sugar
1/4 cup sugar
1/2 teaspoon fleur de sel or 1/4 teaspoon fine sea salt
(I used regular Kosher salt)
1 teaspoon vanilla extract
5 ounces bittersweet chocolate, chopped into chips, or a generous 3/4 cup store-bought mini chocolate chips

Sift the flour, cocoa and baking soda together.

Working with a stand mixer, preferably fitted with a paddle attachment, or with a hand mixer in a large bowl, beat the butter on medium speed until soft and creamy. Add both sugars, the salt and vanilla extract and beat for 2 minutes more.

Turn off the mixer. Pour in the flour mixture, drape a kitchen towel over the stand mixer to protect yourself and your kitchen from flying flour and pulse the mixer at low speed about 5 times, a second or two each time. Take a peek — if there is still a lot of flour on the surface of the dough, pulse a couple of times more; if not, remove the towel. Continuing at low speed, mix for about 30 seconds more, just until the flour disappears into the dough — for the best texture, work the dough as little as possible once the flour is added, and don’t be concerned if the dough looks a little crumbly. Toss in the chocolate pieces and mix only to incorporate.

Turn the dough out onto a work surface, gather it together and divide it in half. Working with one half at a time, shape the dough into logs that are 1 1/2 inches in diameter. Wrap the logs in plastic wrap and refrigerate them for at least 3 hours. (The dough can be refrigerated for up to 3 days or frozen for up to 2 months. If you’ve frozen the dough, you needn’t defrost it before baking — just slice the logs into cookies and bake the cookies 1 minute longer.)

Getting ready to bake: Center a rack in the oven and preheat the oven to 325°F (160°C). Line two baking sheets with parchment or silicone mats.

Working with a sharp thin knife, slice the logs into rounds that are 1/2 inch thick. (The rounds are likely to crack as you’re cutting them — don’t be concerned, just squeeze the bits back onto each cookie.) Arrange the rounds on the baking sheets, leaving about one inch between them.

Bake the cookies one sheet at a time for 12 minutes — they won’t look done, nor will they be firm, but that’s just the way they should be. Transfer the baking sheet to a cooling rack and let the cookies rest until they are only just warm, at which point you can serve them or let them reach room temperature.

Serving: The cookies can be eaten when they are warm or at room temperature — I prefer them at room temperature, when the textural difference between the crumbly cookie and the chocolate bits is greatest — and are best suited to cold milk or hot coffee.

Do ahead:
Packed airtight, cookies will keep at room temperature for up to 3 days (Deb note: not a chance); they can be frozen for up to 2 months. They can also be frozen in log form for months, and can be sliced and baked directly from the freezer, adding a couple minutes to the baking time.


Don't be intimidated by these at all. Just mix, wrap, refrigerated, cut, bake, done. They come out divine. I love how, for a chocolate cookie, they are not overly sweet. It's actually more like a chocolate shortbread. This recipe is a keeper!
(Instagram photo c/o my sister @melissafong)

Monday, December 10, 2012

cranberry white chocolate cookies

I have kind of a silly ritual. The night before I give a presentation, I bake. Baking is happy time. And when it comes to giving presentations, I feel like the worst thing is to over-prepare. The best thing: fill my kitchen with the sweet sweet glorious smell of sugar and butter.

This past Thanksgiving, my sister was craving a cranberry white chocolate cookie. And being the wonderful sister I am, I decided to include this cookie into the holiday baked goods repertoire this year. Turns out that improvising this cranberry white chocolate cookie was such a hit. My sister loved it, so I decided to make them again to bribe my professor.. I mean, share with the class.

Cranberry White Chocolate Cookies

INGREDIENTS
1 1/2 cups all-purpose flour
1 tsp baking soda
1/2 tsp kosher salt
1/2 cup (1 stick) unsalted butter, room temp
1/2 cup white sugar
3/4 cup light brown sugar
1 egg
1 tsp vanilla extract
1/2 cup dried cranberries
1 cup white chocolate chunks or chips

DIRECTIONS
1. Preheat the oven to 375 degrees F. 
2. In a bowl, whisk together dry ingredients-- flour, baking soda, salt.
3. In a stand mixer fitted with a paddle attachment (or separate bowl with a hand mixer), beat the butter and sugars until light and even consistency. Then, beat in the egg and vanilla until well combined.
4. Slowly add the dry mixture to the wet mixture (on stir speed) until just incorporated. Do not overmix!
5. Fold in cranberries and white chocolate. (I just add these in after my dough has come together and pulse the stand mixer on stir a few times)
6. Use a cookie scoop to drop even portions of the dough onto a parchment lined baking sheet. 
7. Bake for 12-15 minutes (rotating in between) until the edges are just light brown. If the cookies are overbaked they will be more crispy than chewy, so it's important to watch them.

So simple. So good. So festive. Enjoy!

Wednesday, December 5, 2012

getting organized

I have so much jewelry that I think I could probably put them all in a pile and swim it it. I have been stuffing everything into my Pottery Barn McKenna Leather Jewelry Armoire for months now. And every month (week, day..), more baubles get squished inside. It's a pretty big size jewelry box, so you can imagine how many baubles I must own. Here's a picture of my jewelry armoire at it's finest-- prior to overcrowding:


Being the statement necklace junkie I am, you don't want to see what it looks like now. I just knew I needed another type of organizer to lift a little burden off my armoire. Statement necklaces don't really work that well in a jewelry box anyway, because they lay all weird and end up getting knotted and stacked on top of each other. No bueno.

I found this amazing framed jewelry organizer on Etsy. It took a few weeks to arrive but it was definitely worth the wait! It's perfectly crafted because it has tons of hooks to hang necklaces/bracelets but also a nice framed screen for hook earrings. I don't really have too many hook earrings, so this ended up working well. Now, my jewelry box carries mostly my daintier jewelry which is such a huge improvement.


I've looked all over the web for jewelry organizers. I'm not sure if this one is that practical for someone like me who owns way too much (because not all of the statement necklaces even made it onto the hooks). However, it's a nice way to organize jewelry with the added decor of the framed design. There were a lot of great organizers with better storage, but what they had in storage potential they lacked in style.

I'm totally happy with this purchase because it is really well made. It's not that heavy but surprisingly sturdy. I love the somewhat distressed look (not sure if you can quite tell from the picture) in midnight black, especially since my bauble collection is super colorful. Plus, it matches the rest of my bedroom furniture, so it's kind of perfect.

This was my second bauble organization attempt (the first was the armoire) and I would mark it as a success. I know eventually I'll have to figure out how to store the rest (plus future baubles) but I loving having some on display. Today, I made a lonely wall and an overworked jewelry box a little happier.

Sunday, December 2, 2012

the paleo life

In an attempt to undo all the crap I've put into my body over the years, I started Paleo (aka the Paleolithic diet aka the caveman diet). Once I completed my first Whole 30, I was hooked. Although I haven't been as strict with my Paleo eating over the past few weeks (because everyone said I was being "no fun"), I want to get back on track. The basics of Paleo are: no grains, no legumes, no starchy white potatoes or corn, no dairy besides eggs, no refined sugar, no processed foods of any kind. Honestly, I was unsure if I could make it though the first 30 days but then I reached a point where I forgot what I was missing, because real food just tastes better.

And then Thanksgiving happened, and I was once again reminded of how freaking amazing hot, buttery, castiron parkerhouse rolls taste. Don't even get me started on the apple pie with the super flaky crust and sweet, gooey filling. I tried not to overindulge but shoot, when it hit my lips, I knew I was in trouble.


While I was eating all the bad, bad, very bad, taboo food, it felt good for all of 15 minutes. Then, I just started feeling lethargic, unmotivated, and overall useless. I literally spent hours not doing anything because my body was in shock. Everyone has their own reasons for going Paleo but mine is pretty clear-- I feel more energetic, healthy, and happy. And, me, I like to be happy.


I'm not saying I will never eat frozen yogurt or pasta or french fries again. That would be so silly and, not to mention, such a big lie. Though, my goal has always been to try to eat Paleo at least 90% of the time. I don't believe in depriving myself of everything I love, but I know that eating mindfully will always steer me in the right direction. It's really easy to do when I have time to prep, cook and come up with new food creations. But, truthfully, it's such a pain when I don't.. So I can understand how sometimes Paleo just doesn't fit into a person's lifestyle.


The meal I cannot live without is breakfast. I used to never eat breakfast, because I either slept through it or ran out the door in too much of a hurry. In order to prevent those awkward moments when someone nearby can hear my stomach growling like crazy, I push myself to wake up at least 30 minutes earlier than normal. Although I wake up hating myself for setting my alarm to go off 6 times in 5 minute intervals, I end up being so thankful for those 30 extra minutes I can eat, relax, and check my email at the beginning of the day.  


This is what I had for breakfast this morning: an omelet stuffed with sauteed red bell pepper, onion, mushroom, and broccoli.. also, free-range chicken meatballs and sliced avocado. My breakfast usually looks like this or some of variation of the same thing. Yes I'm boring and semi-predictable. The more color I can put on my plate is always better, especially when there's no cheese in my omelet and no toast on the side. My version of Paleo also includes black coffee because, well, you don't want to know me if I'm deprived of coffee.


On that note, I must gulp down another cup and finish up some work. I hate when the weekend is over.

Saturday, December 1, 2012

fall staples

The fall season has taken over my life. I'm addicted to over-sized sweaters, cardigans, collared button downs, skinny jeans, and riding boots. Luckily, west coast living makes it easy to just dress in light layers during the cooler seasons. I am so thankful, because big puffy coats and snow shoes are not flattering on me.

Anyway, here's my outfit of the day (jeggings and riding boots not pictured). Excuse the lazy side braid and the crinkled collar (fail).


The reason why this picture is so close up is to highlight the bauble (because that's really all I care about).


Bauble of the Day: the Silver Dew Drop Bib from BaubleBar. I've seen this bib on the site before in rose gold and gold. I was tempted to buy one of those two but just never took the plunge. When they added this silver version to the site recently, I decided to go for it. I like that it is very holiday-esque and the design is unique. I used some of the BaubleBar vault points I've accumulated and got this beauty for free! However, even if I had spent money on this, I'd still say the $32 is worth it.


To go with this bauble, I'm wearing my all-time favorite cardigan-- the BDG classic cardigan from Urban Outfitters. I started out with one and have it in 4 different colors. Can't say that regret owning so many of the same one. It's the most versatile, goes-with-everything cardigan ever. There will always be room in my closet for more.


I also wore the Tinley Road Silk Olivia Blouse from Piperlime. It's a tad on the baggier side, which I don't mind because it looks good either tucked in or just hanging out for a relaxed look. But, I can see maybe sizing down for a more fitted wear. The only problem for me is the bagginess of the sleeves. I always roll them up anyway so I guess it doesn't matter, but to others it might. Overall, it passes for "work" attire and that works for me.